tilauscope_fork
Configuration
!!! abstract “Artisan does / TilauScope adds” Artisan does — configures each device in its own dialog, spread across menus, with no single place that says what a working setup looks like.
**TilauScope adds** — one dialog, seven tabs, covering everything the fork needs to work: the
machine, the names of its controls and what each milestone sends to it, the sensors, how
milestones get detected, the outside services it can talk to, printing, and BeanCave's folders. This chapter exists because a wrong or missing setting here is the most common
reason a guided feature seems broken when it is simply unconfigured.
Open it from TilauScope → TilauScope Config…. Nothing here is required to start TilauScope — the first-time setup wizard already covers the essentials — but this is where every one of those choices can be revisited, and where the finer settings live that the wizard does not ask about. What reads the roaster and which extra devices feed the counters are set in the separate Devices window.

⚙ GENERAL — the machine, and how TilauScope behaves
Machine Profile
Model selects the active roaster profile from sixteen predefined machines. This is the single most consequential setting in the whole dialog: it is what makes the roast plan, the pre-roast roadmap and the guidance during roasting specific to your machine rather than generic. Leaving it unset does not stop TilauScope from working, but every recommendation it gives will be a guess rather than something tuned to your drum.
Read-only (monitoring only — Artisan does not control the machine) is for a roaster adjusted entirely by hand. Ticking it hides every control slider, in Artisan and in the assistant, and TilauScope confines itself to recording BT and ET. Unticking it restores your previous slider configuration exactly — nothing is lost by toggling it. An uncatalogued machine can be used this way with no model selected at all.


UI Features
Enable floating annotations shows phase-event markers directly on the roast graph.
Show the cleaning reminder at startup opens the routine check when TilauScope starts: where the roaster stands in its cleaning cycle, and your recent roasts.
BeanCave home mode (hide the Artisan window) starts TilauScope in the BeanCave shell with the Artisan window hidden.
!!! info “Ongoing” BeanCave home mode only takes effect after a restart — ticking it does not change anything until TilauScope is closed and reopened. It also works today without covering everything the fork does; see Getting started.
Remote access
Record web server (phone QR scan) runs the small web server a phone camera talks to when scanning a label — see Labels and QR. It is off until you tick Let a phone open records by scanning a label: a fresh installation opens no network port, printed labels still print, and a phone scanning one reaches nothing until you switch it on. The Port beside it stays greyed out while the server is off. Remote control (phone piloting), its own Port, and Pair a phone… set up controlling the roast from a phone — see Piloting from a phone. Both are off by default, take effect only after a restart, and are covered in their own chapters, since what they enable matters more than the toggle itself.

Diagnostics
Check progress indicators… opens a window showing every progress indicator the application uses — turning, filling, finished and failed — with a button for each place one can appear. It changes no setting and starts no work: it is there to confirm they draw and animate correctly on this particular computer and screen. See While the app is working for what each one means.
🎚 CONTROLS — control names and milestone commands
Control names
The four fields name the machine’s four controls — on a Skywalker, typically Air, Drum, Airwave and Burner. The names appear on the sliders, the event buttons, the alarms and the phone. A new name takes effect everywhere on Save; a field left empty keeps the previous name. When an AirWave is first assigned in the SENSORS tab, the third control is named Airwave automatically; it can be renamed here afterwards.
Milestone commands
A milestone command is what TilauScope sends to the roaster at the moment a milestone is marked — whether it is marked on the roasting window, in Artisan, from the phone or automatically. On a Skywalker, for example, CHARGE, DROP and COOL END each send an IO Command to the machine.
The line of milestones at the top shows which ones send something: a filled dot has a command, an empty dot has none. Only the milestones with a command show their card below. Click an empty milestone to add one: its card opens with the IO Command type selected. Each card holds the command type — the full list Artisan offers — and the command itself; ✕ removes it. A card saved without a command sends nothing.
Monitoring buttons, folded by default, holds the commands sent by RESET, ON and OFF. START is shown there but cannot be changed: it carries the preheat temperature, which is set in the roast setup.
📡 SENSORS — every device, by role
Each device gets its own group, always in the same shape: a Device dropdown listing what has been found nearby, a status cell, and whatever parameters belong to that device alone. Bluetooth scanning runs in the background for the whole time this tab is open — there is no separate Scan button to press.
The status cell shows a turning ring for as long as a group is still searching and has found nothing, so a quiet group is visibly still looking rather than stalled. The ring stops as soon as something is found, and a device that is assigned but switched off shows no ring — there is nothing in progress to watch.
| Group | Device | What it configures |
|---|---|---|
| Ambient | TilauAmbient (BME280 / BLE) | Which probe to use. |
| Color & Airflow | Difluid AirWave (BLE) | Which extractor to use, how fast it may change speed, the fan output, duct limit and mode for each phase, and whether it should emulate an Omniflux colour channel. |
| Roaster Link | Skywalker v2 (TC4-BLE) | Which roaster link to use. |
| Color Meter | Roast colour (Bluetooth) | Which colour meter the roast result form reads, among the supported colour meters found nearby. |
| Water Quality | Lebrew AquaGauge (BLE) | Which water probe to use. |
| Scale | Scale (Bluetooth) | Which scale every weight capture reads, among the supported scales found nearby. A new choice connects to it when you save. |
| Label Printer | Niimbot B21S (BLE) | Which printer to use. |
Devices detected nearby but not recognised are listed separately, for identification only — see Getting started.
!!! info “Hardware — AirWave PID parameters” A collapsible AirWave PID parameters section under the AirWave group exposes its full gain table (Kp, Ki, minimum fan percentage, inlet limit, mode, ramp) per airflow mode. The inlet limit is in degrees Celsius whatever unit the graph is set to, and the ramp is the number of fan percentage points the extractor may move in one second. It is collapsed by default because the defaults suit the AirWave out of the box — open it only if airflow needs tuning to a specific room or drum.


🔬 DETECTION — how milestones get marked automatically
This tab tunes the algorithms behind Auto First Crack and Auto Dry End: what counts as a crack, and what counts as the end of drying, in terms specific enough to matter for your machine and your microphone.
First Crack (FC)
First crack is called on bean temperature, not on sound: TilauScope waits for BT to reach the first-crack target set in Artisan → Phases. Cracks are a corroborating signal — a burst of them heard at or above that target calls first crack sooner than temperature alone would. Colour plays no part here.
Enable automatic FC detection & marking turns the algorithm on. Three parameters shape it:
- Temperature tolerance — how far BT may sit either side of the target. It sets where TilauScope starts listening (target minus the tolerance) and the point past which first crack is marked whatever happens (target plus the tolerance). Narrower trusts the target; wider gives a missed crack burst more room. The line under the field spells the resulting band out in full, so there is never a figure to work out by hand.
- Cracks to confirm — how many cracks must be heard to call first crack early, once the target is in reach.
- Listening window — how long a crack keeps counting toward that total.
The tolerance is shown in the unit your graph uses. With no first-crack target set in Artisan, the band falls back to 195–200 °C and the line under the field says so.
!!! note “Auto first crack has two prerequisites” It needs a crack counter among your devices — an acoustic channel for TilauScope to bind to. Without one the box can still be ticked, and the tab says so in place of the usual explanation: No crack counter among your devices. It also only starts looking once dry end is marked, by hand or by the Dry End automation below.
Dry End (DE)
Enable automatic Dry End detection & marking turns on a different kind of detection: it watches the convergence of the BT/ET RoR ratio, the slope of the gap between the two probes, and BT’s progress toward the Dry End target — the same target that must be set in Artisan → Phases for Auto Dry End to do anything. Colour is used as a bonus signal where a colour device is configured.

🌐 INTEGRATIONS — outside services
MQTT Broker
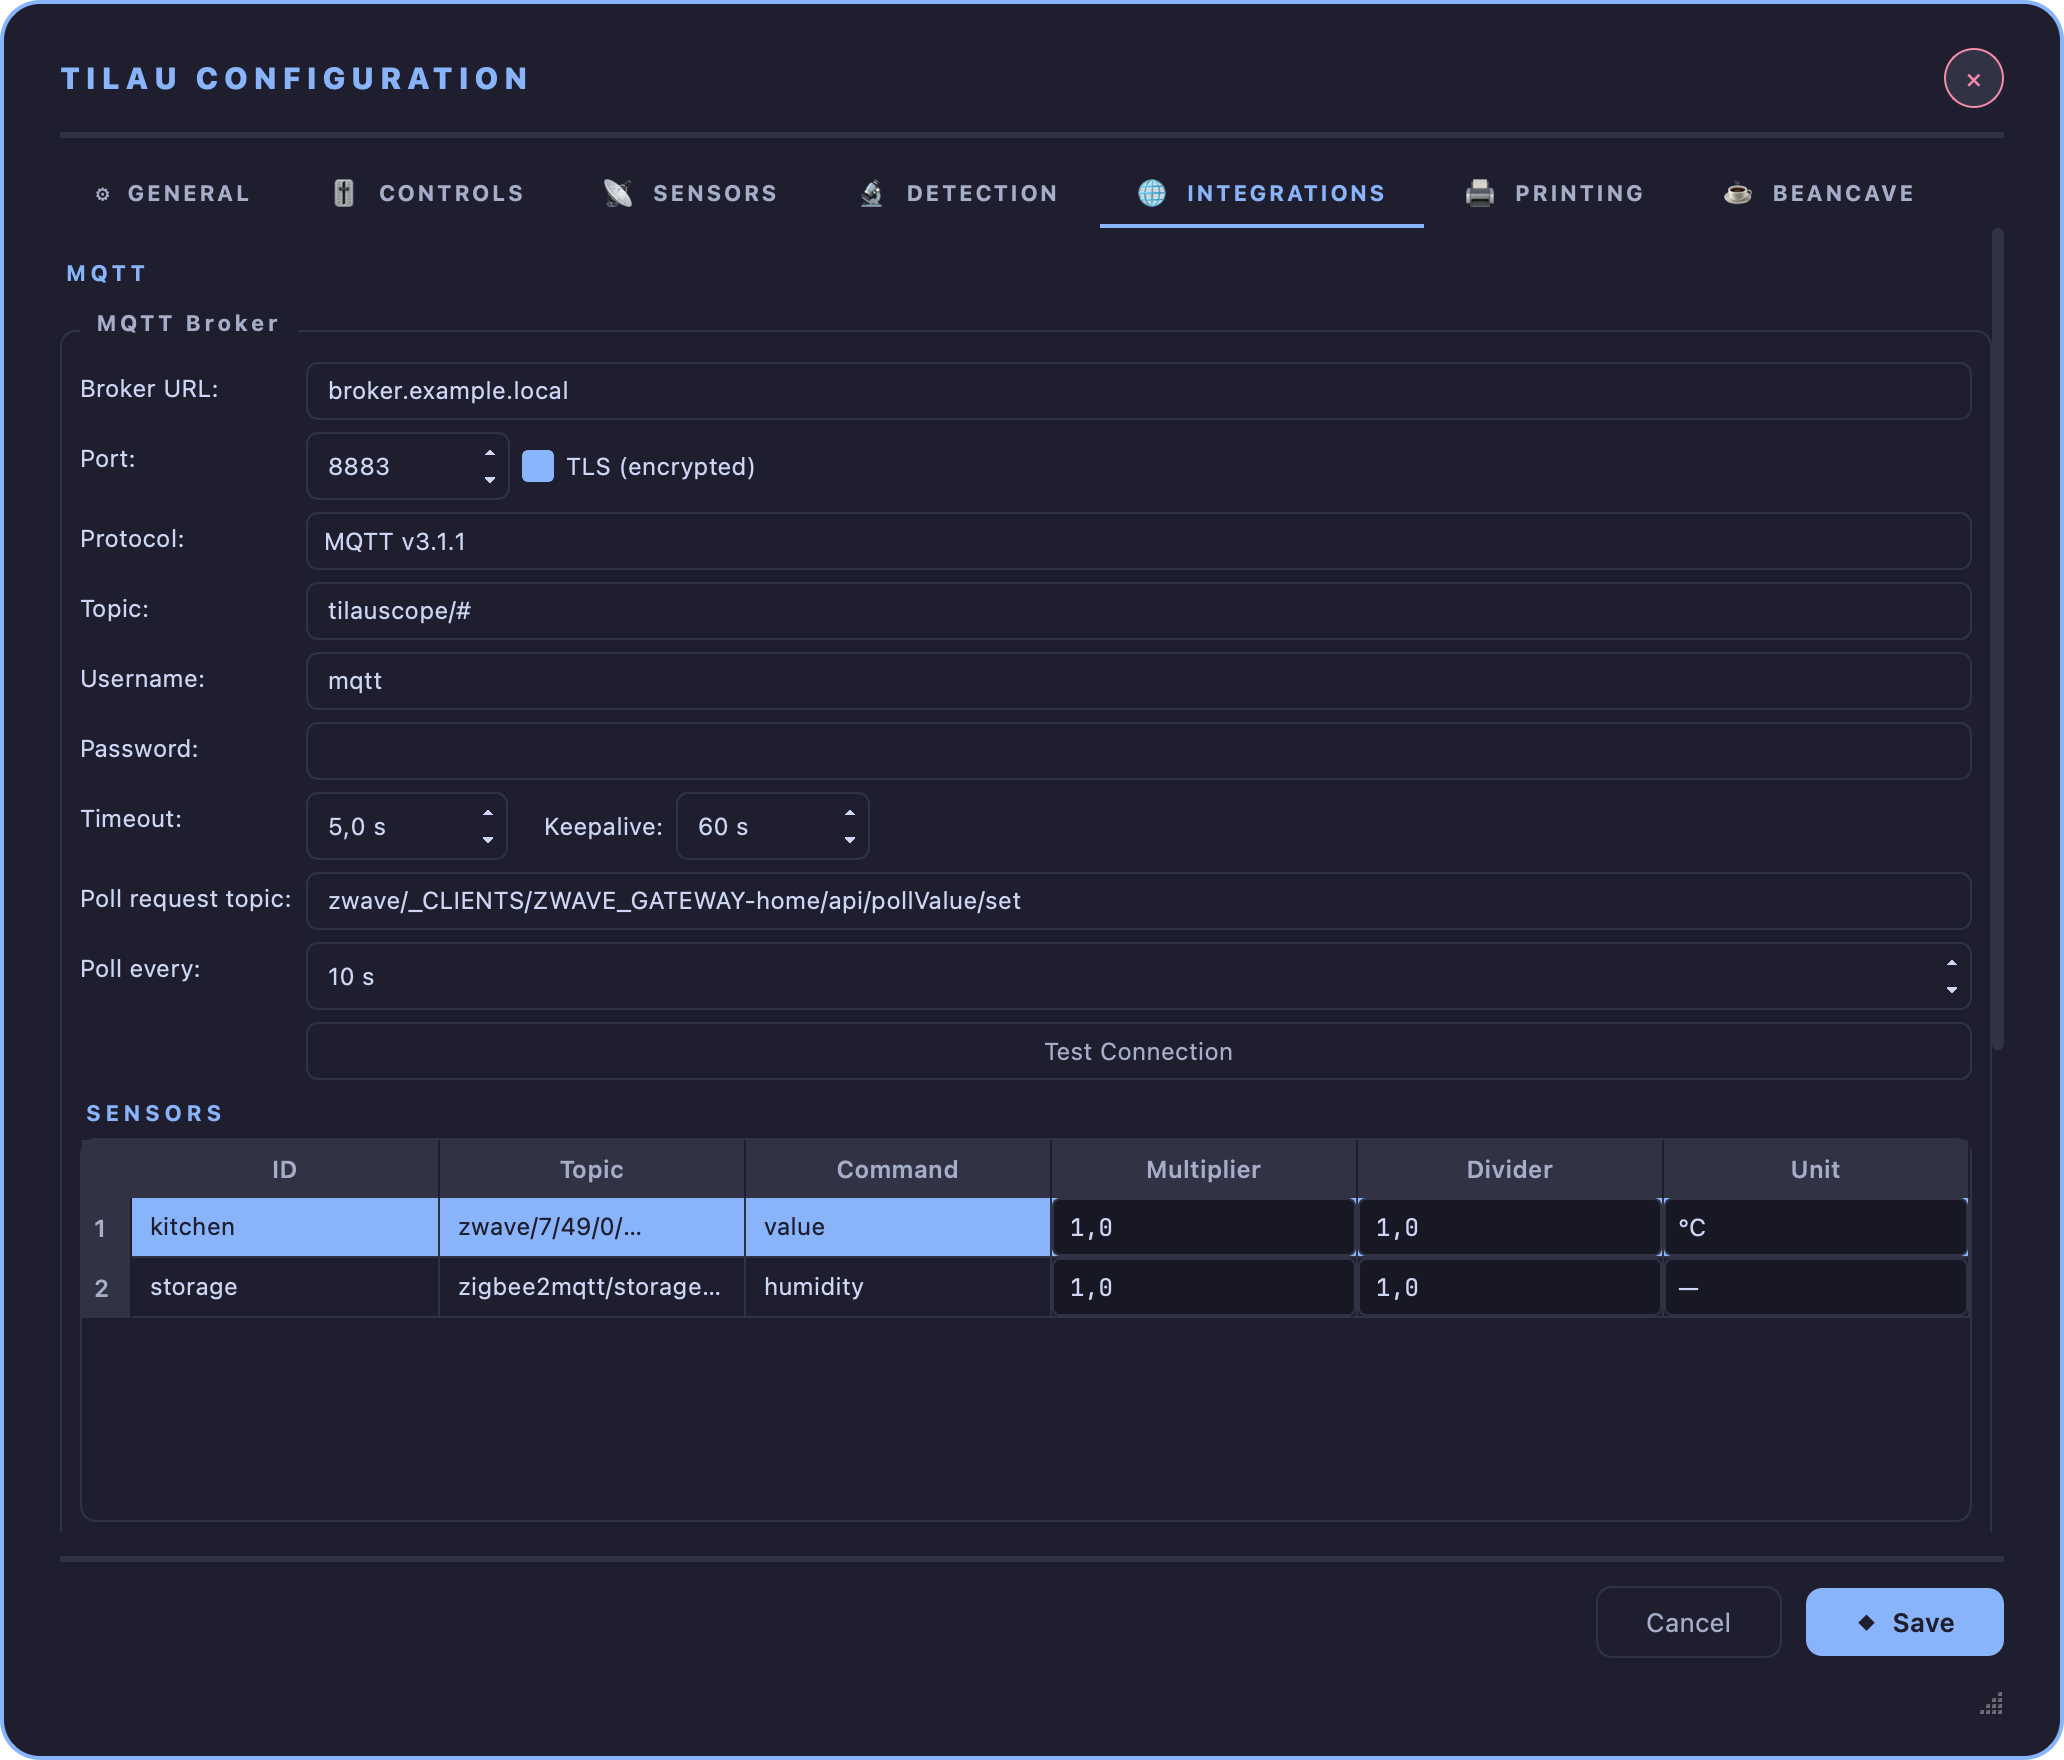
Broker URL, Port, Topic, Username, Password, and a Test Connection button that checks the connection before it is relied on. The test uses the password as typed; it is stored only when you press Save, and it follows the broker if you later change its address, port or user. This is what the ambient humidity tracking and any MQTT-fed device depend on.
TLS encrypts the link to a broker that asks for it — see TLS. Ticking it moves the port from 1883 to 8883, the usual pair, unless you have entered a port of your own, in which case yours is kept. The broker’s certificate has to come from a recognised authority; a certificate the broker issued to itself is refused and the connection fails.
Protocol is the version spoken to the broker: MQTT v3.1, MQTT v3.1.1 or MQTT v5. Leave it on v3.1.1, which every broker accepts, unless yours states otherwise.
Timeout is how long the broker is given to accept the connection before it is declared unreachable — a broker on the other side of the internet, or an encrypted one whose handshake takes a moment, needs more than the three seconds used by default. Keepalive is the idle time after which the connection is checked; see keepalive.
Below the broker settings, Sensors lists the individual readings taken from that broker. Each line names one sensor: an ID to refer to it by — each sensor has its own, two lines cannot share one — the Topic it is published on, the Command — the field to read inside the message when the message carries several values — a Multiplier and Divider to bring the raw figure into the unit you want, and the Unit that figure is then expressed in. Every cell is edited directly in the list.
Unit is where you declare that a sensor publishes a temperature: °C, °F, W for a power reading, or the dash for anything else — humidity, fan speed, pressure. A power sensor named roaster or extractor with the unit W feeds the Energy view; for a line whose topic ends in Power, the buttons ⚡ Use as roaster and 💨 Use as extractor under the list set both at once, and Extractor is plugged into the roaster meter says that one meter counts both — see Energy. The line the Energy view uses shows ⚡ (roaster) or 💨 (extractor) in place of its line number. Below the list, Without a meter says where the roaster’s energy comes from when no meter is set, and offers Heater power when TilauScope has no power figures of its own for the roaster — see Energy. A temperature is converted on arrival into the unit the application is working in, so a probe publishing in Celsius reads correctly during a Fahrenheit session and the other way round. Multiplier and divider are applied first, the conversion second: a probe sending tenths of a degree needs a divider of 10 and its unit set. A sensor left on the dash is recorded exactly as published, whatever the session unit. Add sensor appends a line, Delete removes the selected one, and Check sensor reads the selected sensor once from the broker and reports the value it obtained. A sensor whose topic happens to be silent at that moment is still kept — the check is there to confirm a reading, not to grant permission.
The list is saved along with the rest of the settings when the window is closed with Save, and discarded on Cancel. An ID that another line already carries turns red, with a note under the list, and Save is refused until one is renamed — capitals and spaces around the name do not make two names different. Save is also refused for a line that has a topic but no ID. It can be edited whether or not the broker is reachable; only Check sensor needs a live connection.
A sensor only ever shows what its publisher sends. Two settings on the publishing side decide whether a reading is there when a roast starts: messages have to be published as retained readings, so the last known value is handed over the moment TilauScope subscribes, and the publication interval has to be short enough to be useful — thirty seconds or less. Without the retained flag a channel stays empty until the publisher speaks of its own accord, which on a home automation gateway can take several minutes. When that happens the channel reads nothing, and the topics still silent half a minute after connecting are named in the diagnostic log.
Poll request topic and Poll every cover the other half of the problem, for a sensor that
reports too slowly rather than not at all. Rather than wait,
polling asks the gateway for a reading. Fill in the topic the gateway
accepts requests on — a Z-Wave gateway typically publishes it as
zwave/_CLIENTS/ZWAVE_GATEWAY-<name>/api/pollValue/set — and choose how often, or leave the
topic empty to never request anything. Below ten seconds the network cannot keep up, so ten
seconds is used instead.
What to ask for is worked out from each sensor’s own topic, so there is nothing else to fill in. A sensor whose topic does not identify a device and a value that way is left alone, and so is one the gateway refuses or one that never answers — a battery sensor sleeps between its own reports and cannot be reached in between. Each of those cases is named once in the diagnostic log, and the sensor is dropped from the rotation rather than asked again every cycle.
AI Provider
A status line states whether a provider is configured, and Configure AI Provider… opens the picker. This is what filling a bean record from a supplier’s page needs — nothing that reads or writes a bean record silently sends data anywhere without this being set up first.
What is sent is the roast, brew or bean data the feature is about, and it is cleaned first: e-mail addresses, telephone numbers, bank details, file paths, network and device identifiers, and the operator and organisation names set in Artisan are removed from the request before it leaves — including from anything you typed yourself in a notes field. The provider is the one configured here, and TilauScope sends nothing to any AI provider until you configure it.
Your key is not kept in TilauScope’s settings. It is handed to the keychain your system already runs — Keychain Access on macOS, Credential Manager on Windows — and TilauScope asks for it when it needs it. This matters beyond your own machine: exporting your settings writes every setting into the file, which is how a machine setup is shared between roasters, and a key kept in the settings would leave with it. One key is remembered per provider, so switching provider and back does not mean typing it again. An installation that still had its key in the settings moves it across on the next launch, without asking.
The same is true of the broker password above.
Privacy
Before the very first request to a provider, TilauScope names it and says what the request carries, what is stripped out of it on the way, and what never leaves the machine at all — your provider key, your roast files and your bean library stay here. The provider may be outside the European Union and keeps requests for its own retention period. Answering Not now cancels that request and nothing is sent; answering Send to … lets it go and does not ask again for that provider. Changing the provider, or the model, brings the notice back: what it names is who receives your data, so a new recipient is announced rather than inheriting an answer given about someone else. The notice is never raised with a batch in the drum — a request made mid-roast is refused with an explanation instead, and works normally once the roast is over.
Location lookup covers the one place TilauScope needs to know where you are: the online weather of the roast setup sheet, offered when no ambient probe is configured. It reads the temperature, humidity, pressure and altitude of your town. Finding your town means handing your internet address to a lookup service outside the European Union, so the first time you use it TilauScope says so and lets you choose between looking it up and typing the three values yourself — choosing to type them puts the cursor in the first of the three.
Both answers are shown here with an Ask me again button, which forgets the answer so the notice appears once more the next time the feature is used. A line reading not asked yet means nothing has been granted, and there is nothing to forget.

🖨 PRINTING — label size
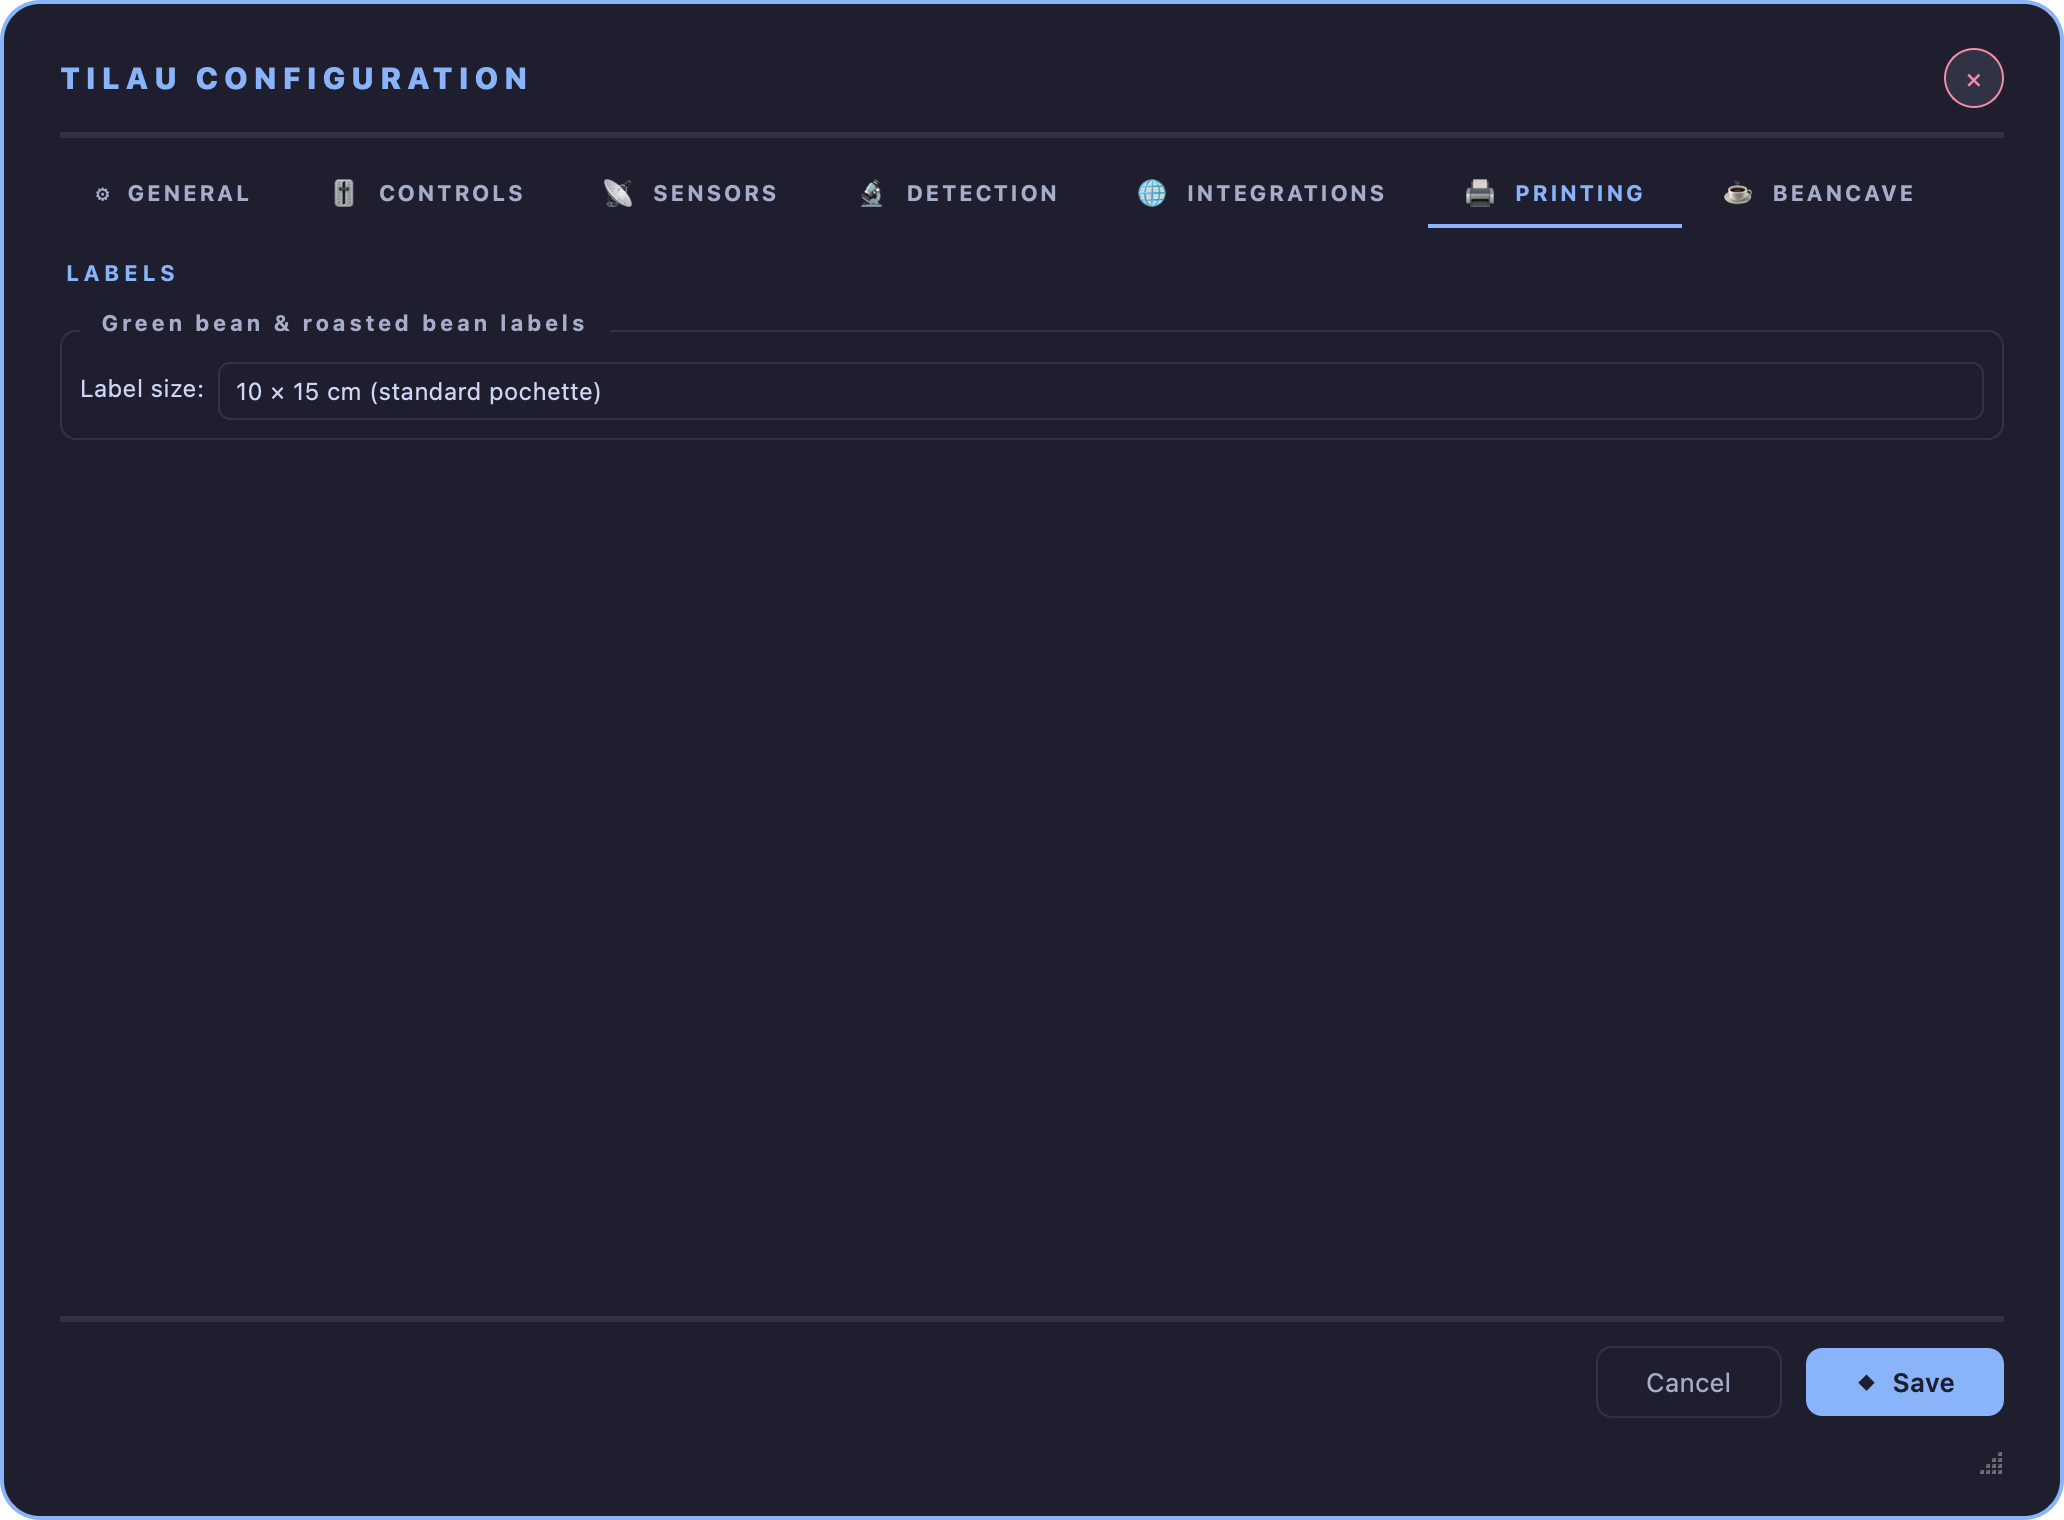
Label size picks the physical size the green bean and roasted bean labels are generated at: 10 × 15 cm (a standard pochette) or 7 × 9 cm (a compact one). The PDF is built at exactly that size, so the printer should be set to print at 100% — no “fit to page” — for it to come out at the size chosen here.
☕ BEANCAVE — files and currency
Directories sets where the green-bean database and the roast files are kept. Choose… accepts only an existing folder TilauScope can write to.
Currency sets the currency of green-coffee prices in BeanCave, and of the stock values and roast costs worked out from them. Until one is chosen, the system’s currency is used. Amounts follow the system’s number format, so the symbol may sit before or after the figure.
Artisan settings TilauScope keeps fixed
Artisan’s View and Roast menus and six entries of its Config menu — Sampling…, Curves…, Phases…, Axes…, Autosave… and Batch… — are not offered, and their keyboard shortcuts do not open them either. The roast menu’s background and profile switch are covered by TilauScope’s own background curve. Config → Events… opens without its Config tab: the CONTROLS tab replaces it.
Two of them are set by TilauScope:
- Sampling — one reading per second. Monitoring does not switch itself back on after it is turned off, and a finished roast is not sent to a separate viewer.
- Curves — Artisan’s own graph shows bean temperature, its projection and its rate of rise. Environmental temperature is still recorded and still available to the PID and to alarms; it is simply not drawn there. The TilauScope roasting curve is not affected: on a machine with an air probe, air temperature can still be traced from its right-click menu.
The other four keep the values already in place: phases, axis limits, autosave, and the batch counter, which still advances at DROP.
Artisan’s DROP button is always kept shown. Artisan marks DROP by itself whenever that button is hidden, even with automatic DROP turned off in the roast setup.
A settings or machine file loaded later is brought back to these values as it opens; the file itself is not modified.
Next
- What each setting here changes on the ground: BeanCave, Preparing a roast, The guided roast.
- The one-time wizard that sets the essentials automatically: see Getting started.
- Each device — pairing, limits: see Hardware and peripherals.